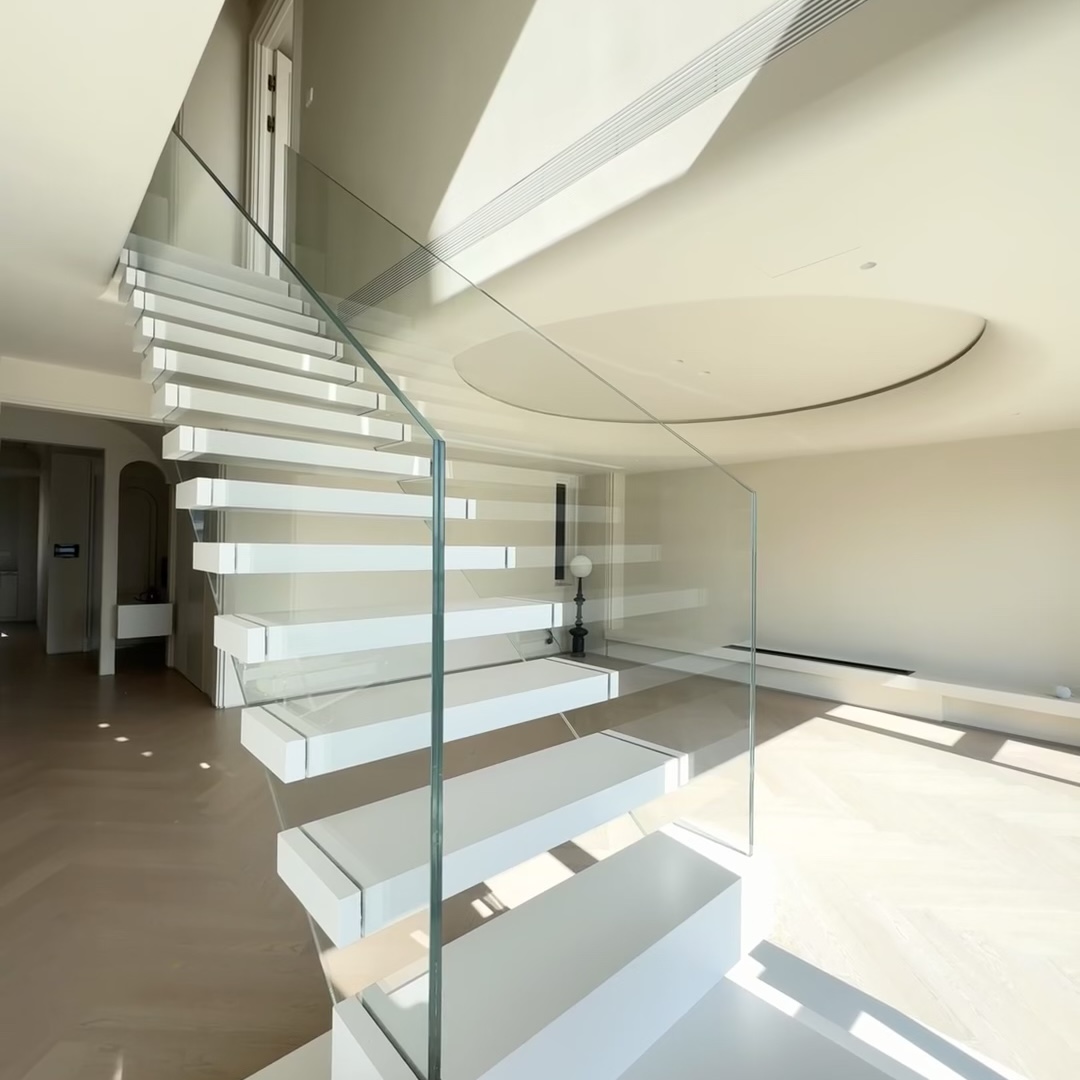
Elevating the allure of your balcony while maximizing unobstructed views is made effortlessly achievable with the installation of a sleek glass railing. If you’re seeking a modern and sophisticated aesthetic for your outdoor space, this step-by-step guide on “How to Install Glass Railing on Balcony” is your comprehensive roadmap. Uncover the transformative process that not only enhances the visual appeal of your balcony but also ensures a secure and stylish addition to your home. From gathering the essential tools to the finishing touches, embark on this journey to seamlessly integrate a glass railing system that blends safety with contemporary elegance.

How to Install Glass Railing on Balcony
a. Gather Tools and Materials: Before you begin the installation process, make sure you have all the necessary tools and materials on hand. This includes tempered glass panels, sturdy railing posts, a power drill with appropriate bits, stainless steel screws, a measuring tape, a level, and safety gear such as gloves and safety glasses.
b. Measure and Mark: Start by measuring the length of your balcony railing accurately. Mark the positions for the railing posts, ensuring they are evenly spaced to achieve a balanced and aesthetically pleasing look. Double-check your measurements to avoid any errors during the installation.
c. Install Railing Posts: Using the power drill, secure the railing posts in the marked positions. Ensure the posts are plumb and level to provide a stable foundation for the glass panels. Use stainless steel screws for a corrosion-resistant and durable installation.
d. Attach Glass Panels: Follow the manufacturer’s guidelines for mounting the tempered glass panels onto the installed posts. Typically, this involves attaching metal clamps or brackets to the posts and then carefully placing the glass into position. Take extra care to prevent scratches or damage to the glass surfaces.
e. Secure the Glass Panels: Once the glass panels are in place, securely fasten them to the railing posts. Tighten the screws on the clamps or brackets, ensuring a snug fit. Perform a thorough inspection to guarantee that each glass panel is stable and properly aligned. Make any necessary adjustments to achieve uniform spacing.
f. Add Finishing Touches: To enhance the overall appearance and safety of your glass railing, consider adding finishing touches. This may include installing a handrail for additional support or a top cap to protect the glass edges. Make sure all components are securely attached and aligned with the glass panels.
g. Clean and Inspect: Before considering the installation complete, thoroughly clean the glass panels to remove any smudges or marks. Inspect the entire railing system, checking for any loose screws or issues with the glass. Address any concerns promptly to ensure the longevity and safety of your newly installed glass railing.
h. Regular Maintenance: To keep your glass railing in optimal condition, perform regular maintenance. Clean the glass regularly to maintain clarity and inspect the railing for any signs of wear or damage. Address any issues promptly to prevent further damage and ensure the ongoing safety and aesthetics of your balcony railing.
Conclusion
Elevate the aesthetics and safety of your balcony by following these detailed steps for installing a glass railing. With the use of tempered glass and careful installation, you can achieve a modern and secure outdoor space that enhances your overall living experience. Enjoy the beauty and functionality of your newly transformed balcony!